
My colleague always compares Solar PV Rooftop system with the human body, when he is discussing solar energy generation to a person who doesn’t have any technical background. So, it is easy to create a good impact and understanding in the listener. Here is his starting statement, “Solar panel is the heart of the SRPV system which generally pumps electricity to the load/grid, like pumping of blood by the heart. The inverter is the brain of the system which takes care of all controlling action, whereas cables are veins of the system which act as the path for flowing electrons”.
So, what about Bi-Directional Meter? Which part of the body is suitable to compare Bi-Directional Meter?
We can compare the Bi-directional meter with our eyes. If you can’t find out your net import and export in your system, it literally means you are blind about your system. The bi-directional meter allows you to get the information of your energy generation – export, import from your SRPV system and grid.
What is a Bi-Directional Meter?
An electric meter in your home senses the current flowing through it and store the value of total consumption according to the net flow of current. They are not directional sensitive meter. So, it will run forward irrespective of whether an export is happening or import is happening. It eventually increases the meter reading for the export aswell.Which means, not making any savings in your electricity bill and charging extra for your export.
Bi-Directional meter senses the direction of flow of current and stores the data in a separate register. In the daytime, most of the loads are in off-stage and excess energy generating by solar system will send back to the grid (Export). At this point, direction of flow of current is backward and meter saves the data in export register. In night time, there is no solar generation and electricity is imported from the grid to run the load. Now, the direction of flow of current is forward and meter saves the data in import register.
Understand Your Solar Bi-Directional Meter
To avoid electric theft and to follow a unique process in solar policy, BESCOM approved Secure to supply Bi-Directional Meter. Basically, we are using four kinds of Bi-Directional Meter according to the connectivity to the grid.
- Single Phase Two Wire Bi-Directional Meter
- Three Phase Four Wire. Whole Current Bi-Directional Meter.
- Three Phase Four Wire. CT operated Bi-Directional Meter.
- Three Phase Four Wire HT Bi-Directional Meter.

Fig. 01 Shows Front view of a single phase solar Bi-Directional Meter. Following are the parts of the Meter.
- Name Plate: Electrical information of the meter is displayed on the Name Plate such as the type of connection, voltage, current, frequency, etc. Other than electrical information, they display the company name, warranty, serial number on the nameplate.
- LCD Display: A large LCD displays, which shows different electric parameters recorded by the meter. The LCD display has various sections for displaying specific information.
- Push Buttons: Two push buttons namely MD push button and Scroll push button are there in the meter. By using scroll push button, we can scroll the display. Each display shows different parameter of the system.
- 1107 Port: An optically isolated sealable port to enable data to be transferred to and from the meter through an optical cable.
- Terminal Block: Input and Output terminals are there in the meter. On the left side, we can see a communication terminal as well.
- Connection Diagram: Connection diagram is labelled on the top of the terminal cover block.
How to take the reading from your Bi-Directional Meter?
Single Phase Meter: Figure showing below is the LCD display of Single Phase Bi-Directional Meter. The top part is for indicating numbers, which basically denotes the value of the electric parameter. Right corner part is to indicate the unit of the electric parameter. All parameter of our electric grid can be possible to store in a smart electric meter. But for the easiness of meter reader and customer, meters are coming with a presetting display.
With the help of push button, we can change the display and read the required value – Voltage, Current, Import Power, Export Power, etc.
Following are the step by step display and its value.
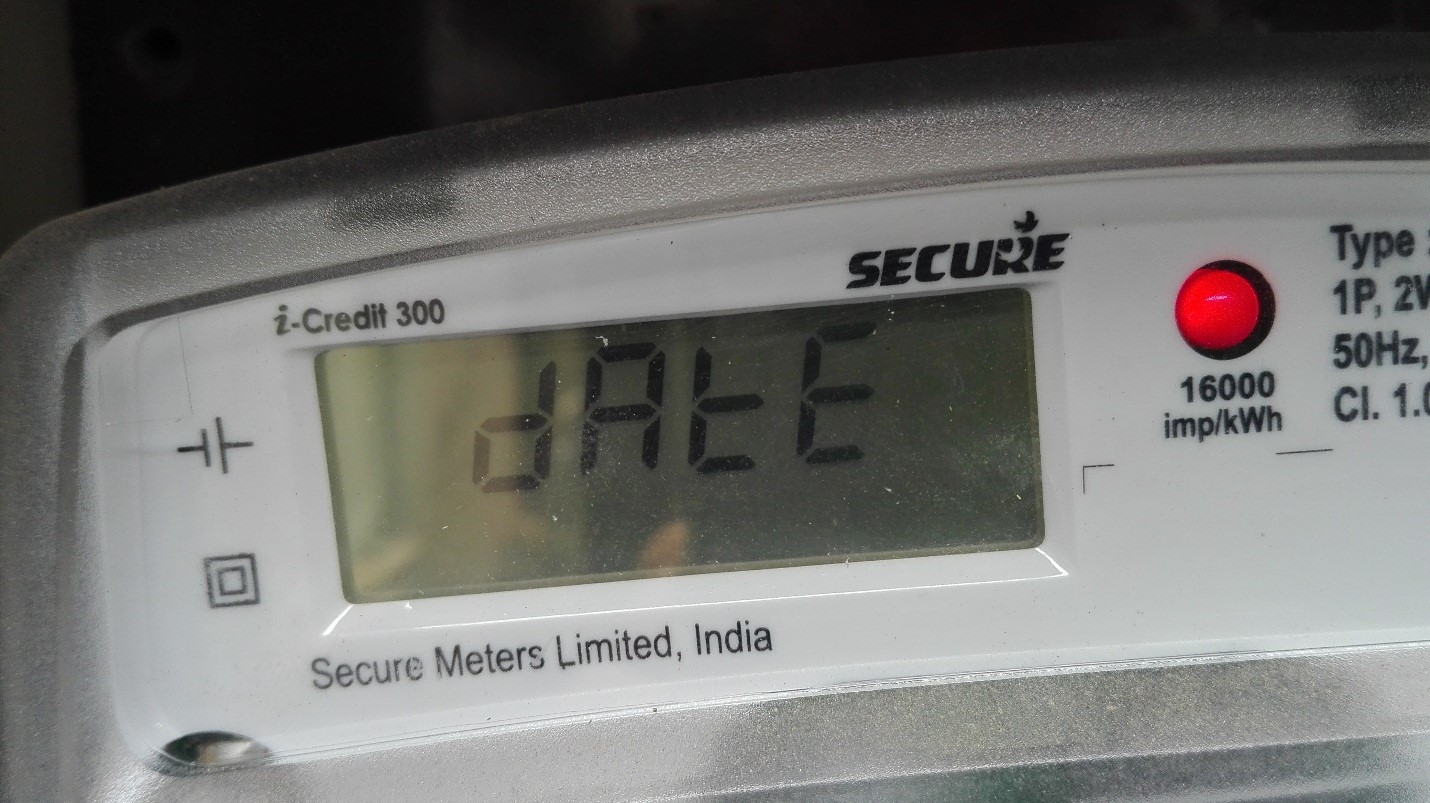
Step 1 (First Push button)
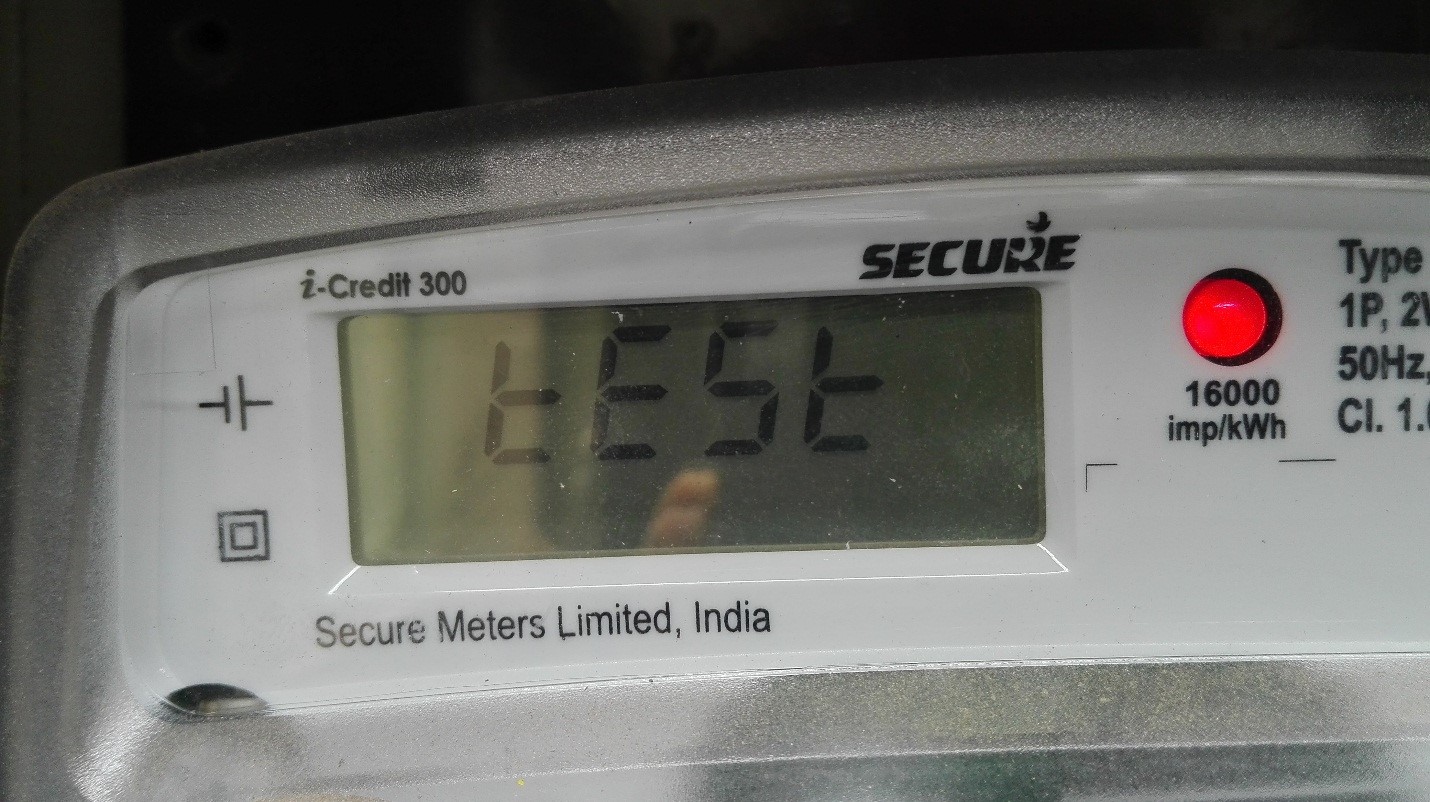
A text ‘Test’ is written on the display. Where we can start to take the Meter Reading.
Step 2
When you are pressing push button the second time, the display shows all the digits to make sure it is working properly.
Step 3
Pushing the push button for the third time, the display shows its serial number. Each meter has its physical address called serial number. These serial number can be used in future to register any problems happens in meter.
Step 4
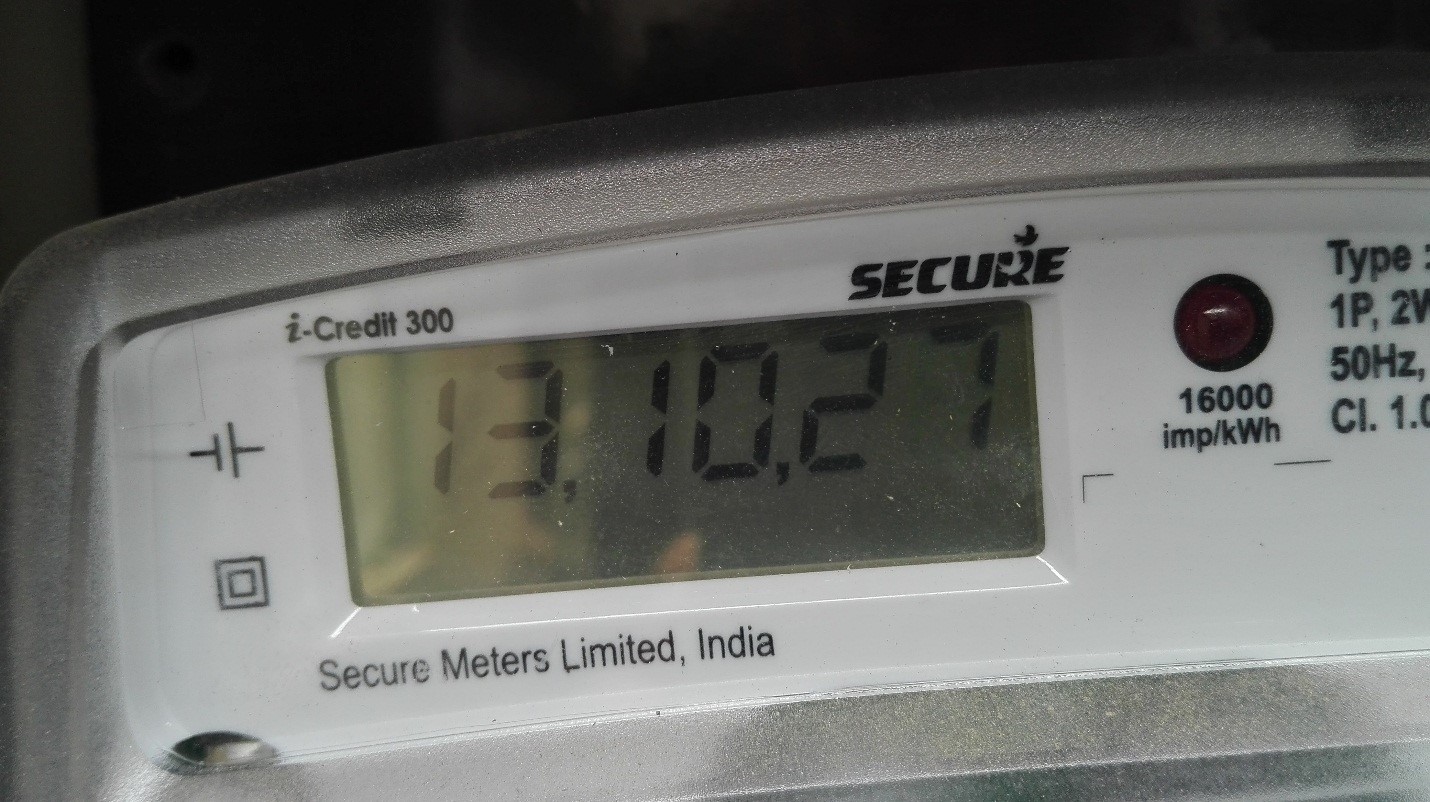
Pressing the Push button for the fourth time, Display shows the next parameter going to be displayed which is the current date and on the fifth time, it will display the current date.
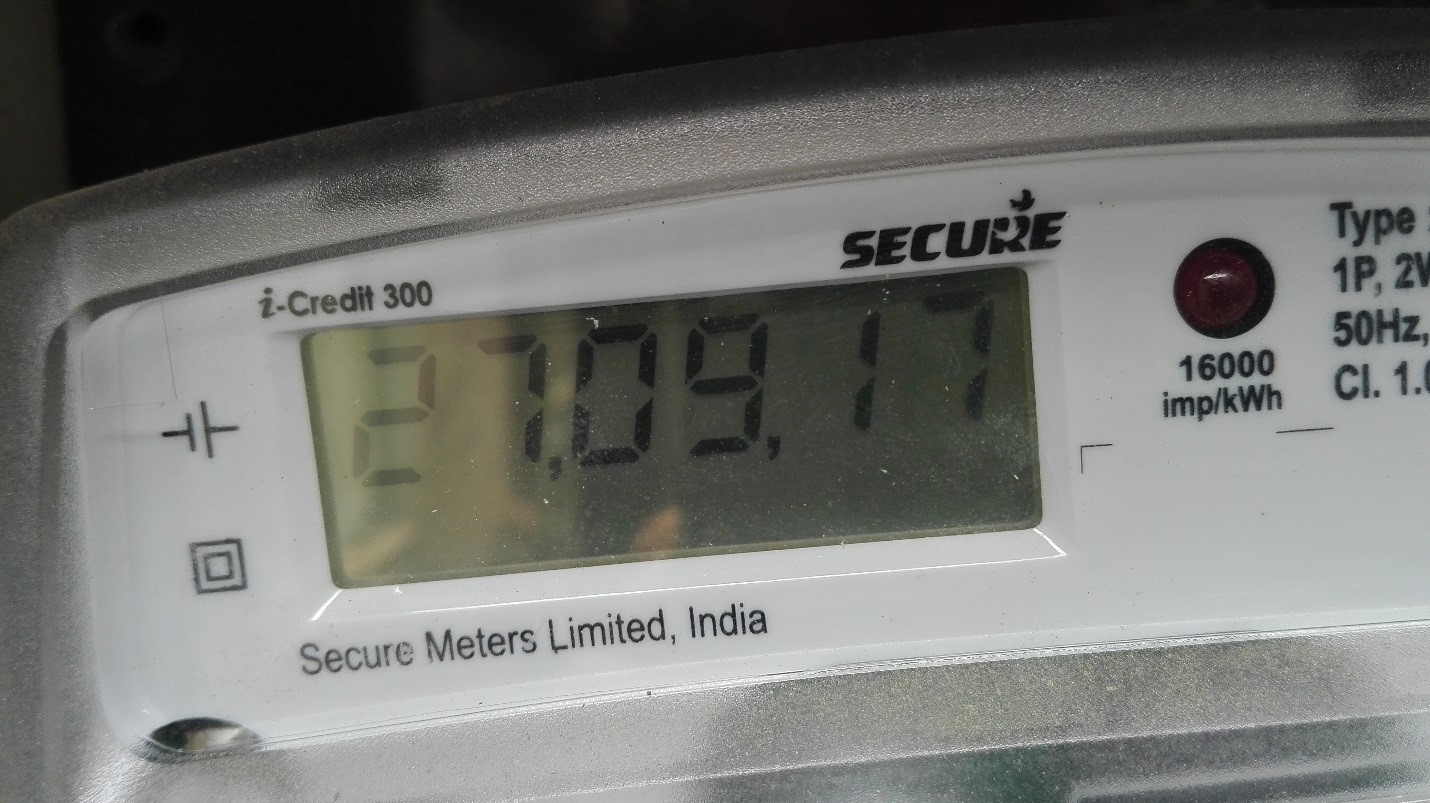
Display is showing 27,09,17 – it means September 27th,2017
Step 5
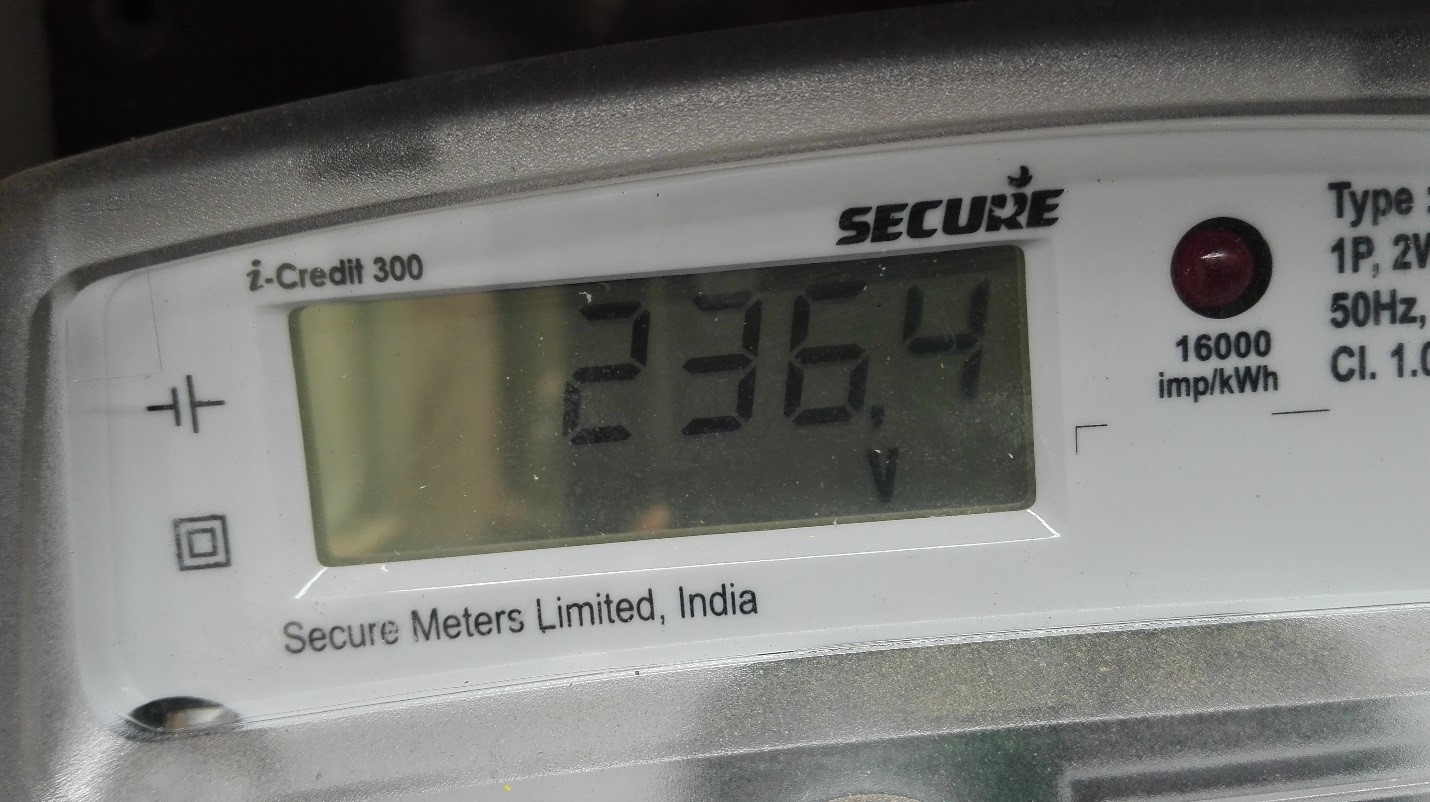
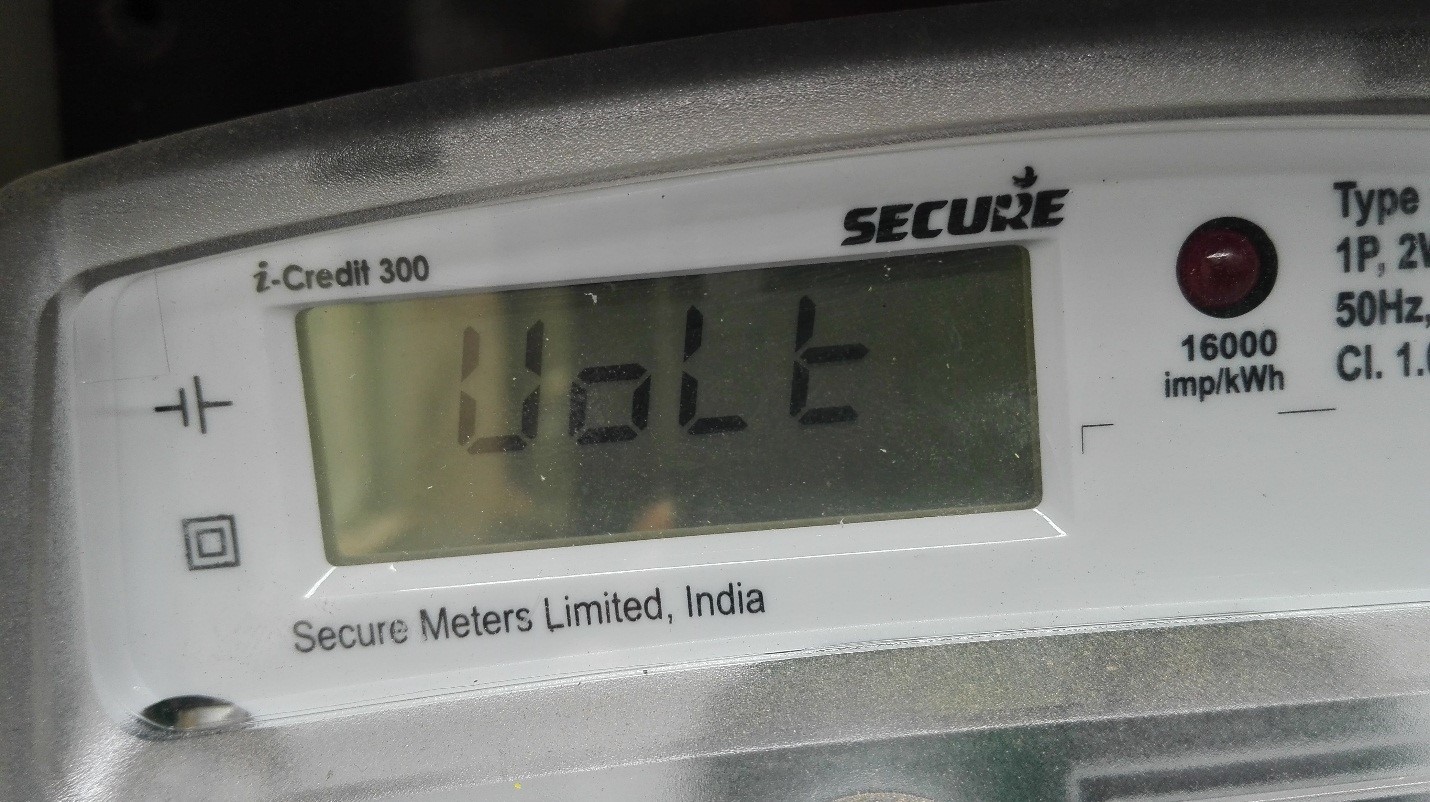
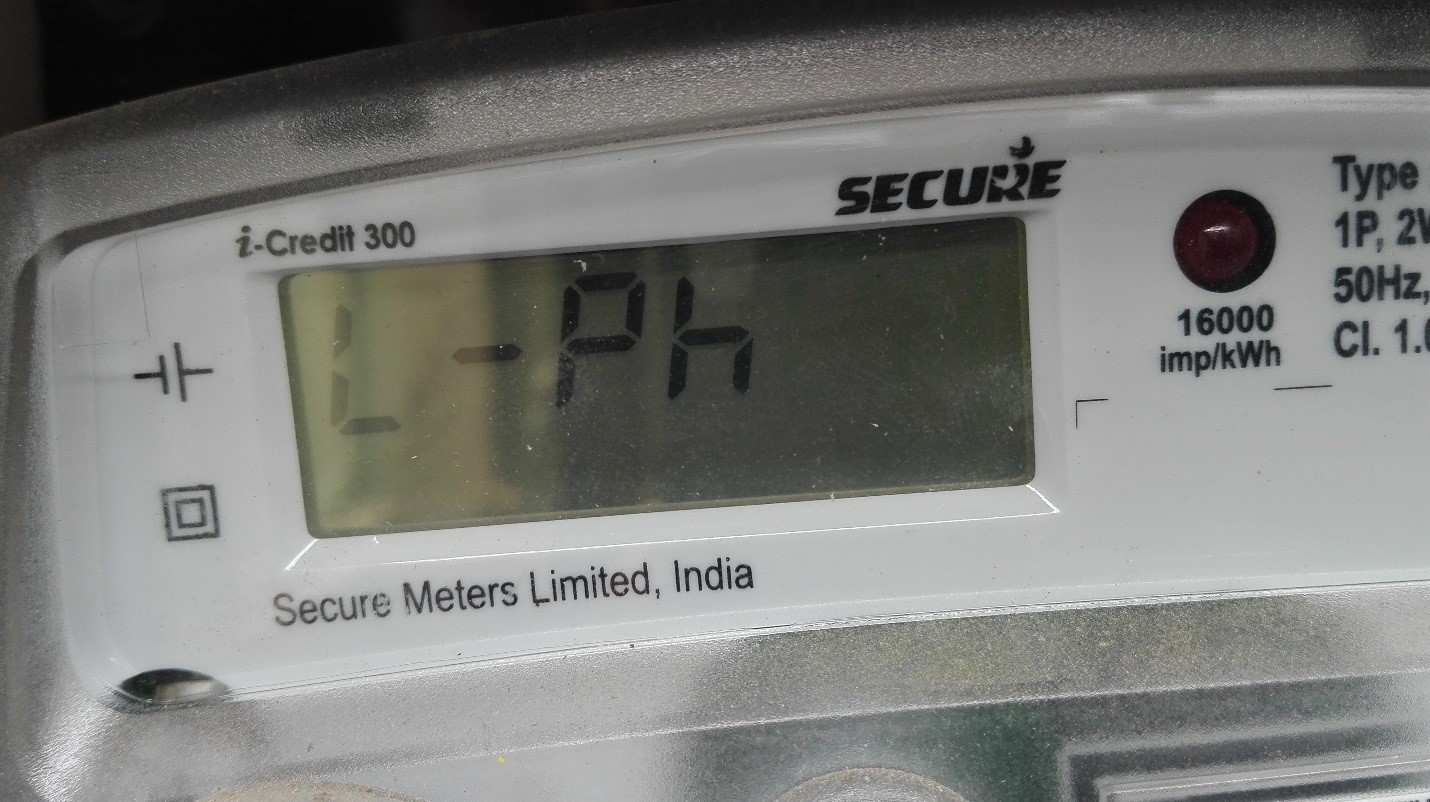
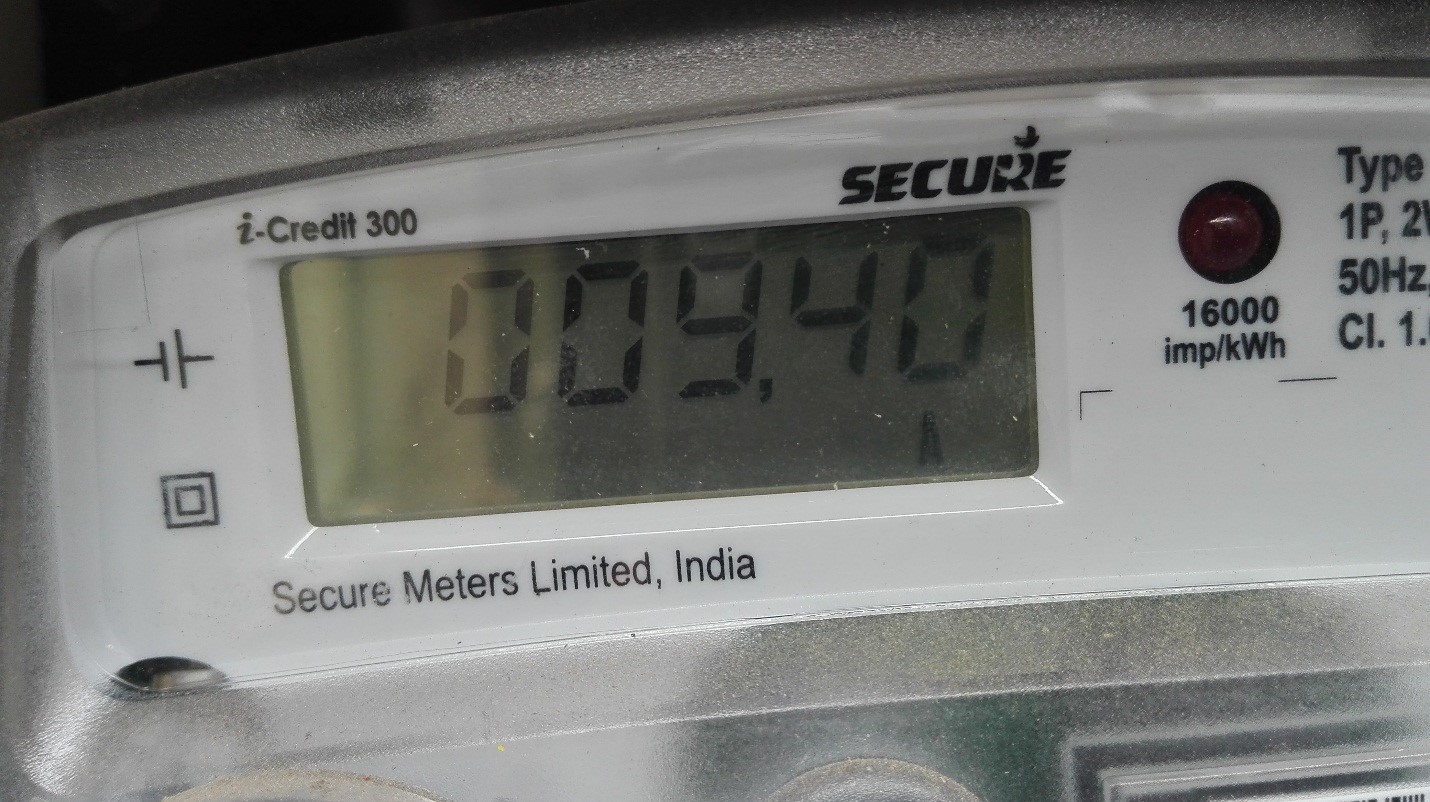
Next display is the current voltage of the grid and solar. It is always in the range of 230V – 240V (Indian grid voltage)
Step 6
Next Parameter is Current, the Net value of the current will be displayed in the electrical meter. Which may be export or import depends on your load and consumption. Nowadays, a smart bi-directional meter is available in the market which can be display both import current as well as export current. However, our main requirement is to know the imported power and export power. For that we have separate option.
Step 7
This is the step that we need. In this step, by applying push button we are going to get the Imported energy from the grid so far.
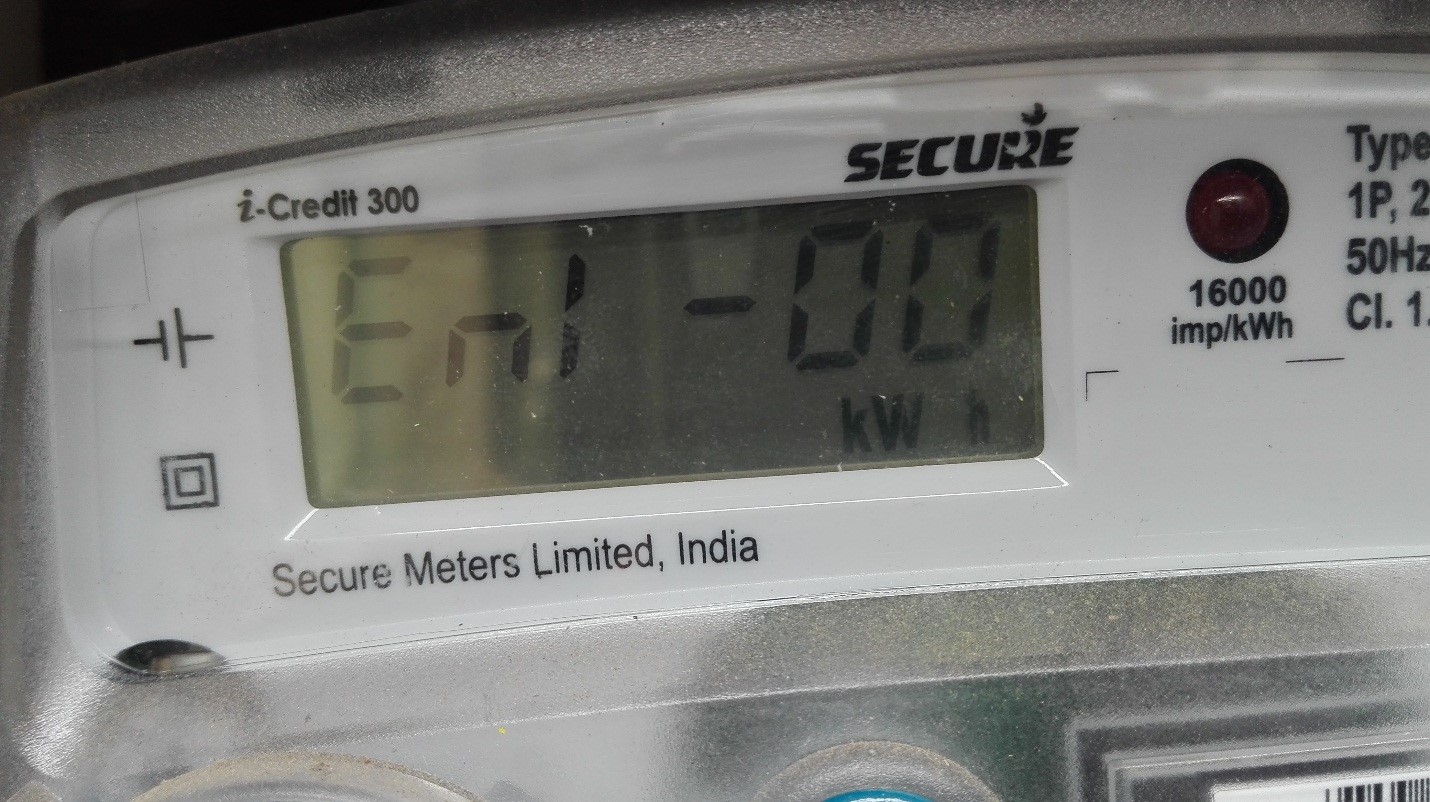
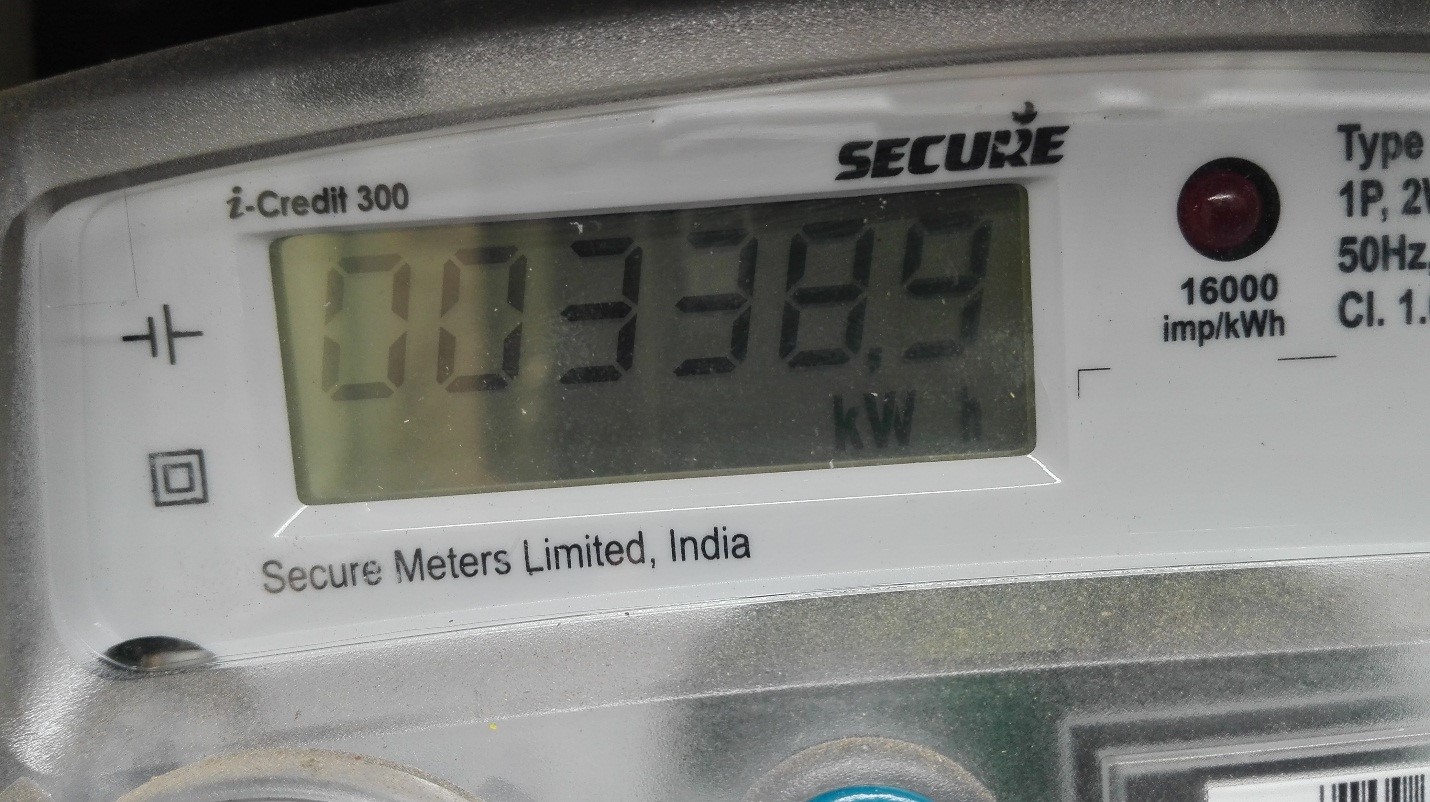
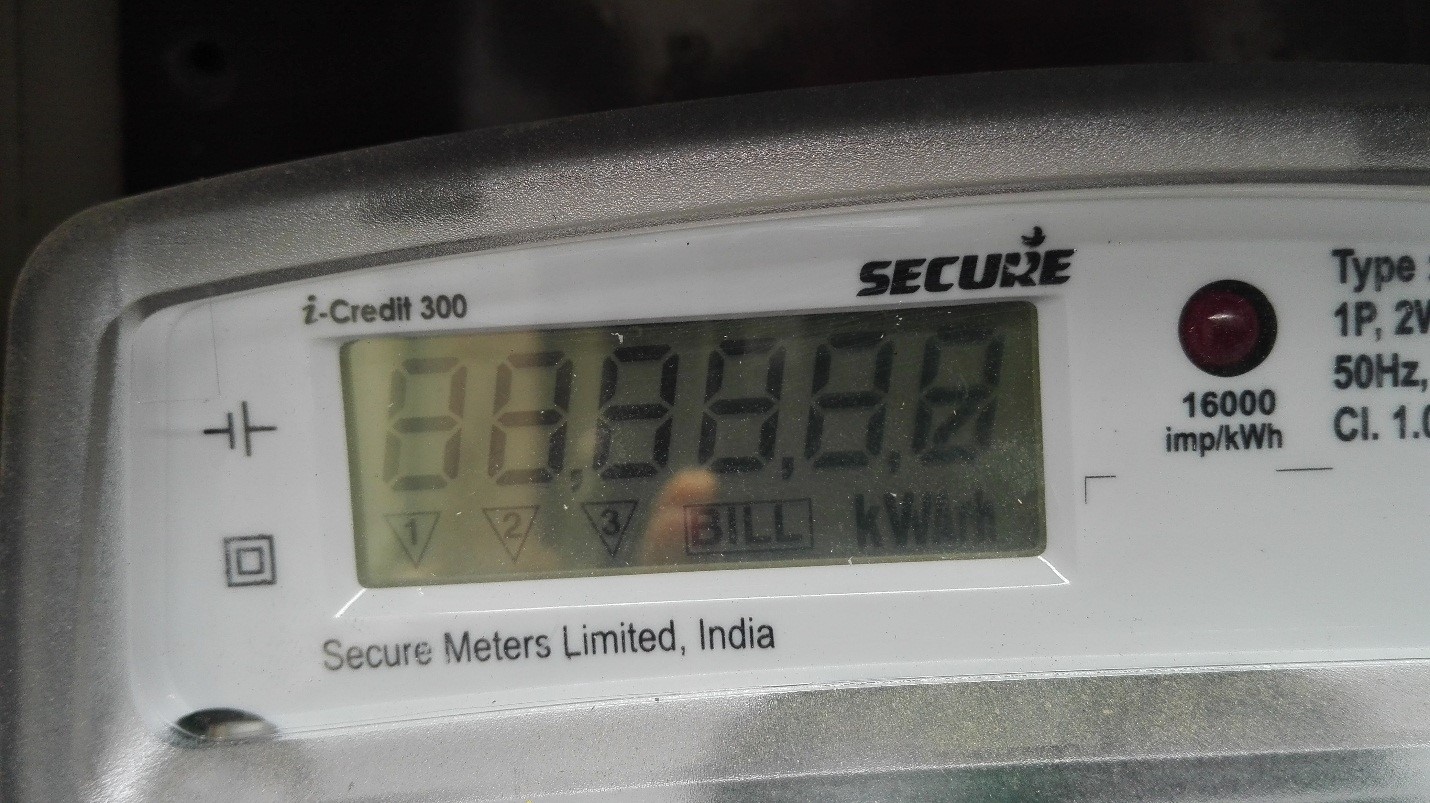
The text in first display is “EnI” – It means Energy imported so far from the grid. The unit of electric energy is kWh. 338.9 units of electricity is imported by the customer using this electric meter.
Step 8
Again, pressing the push button, we get a display of energy export.
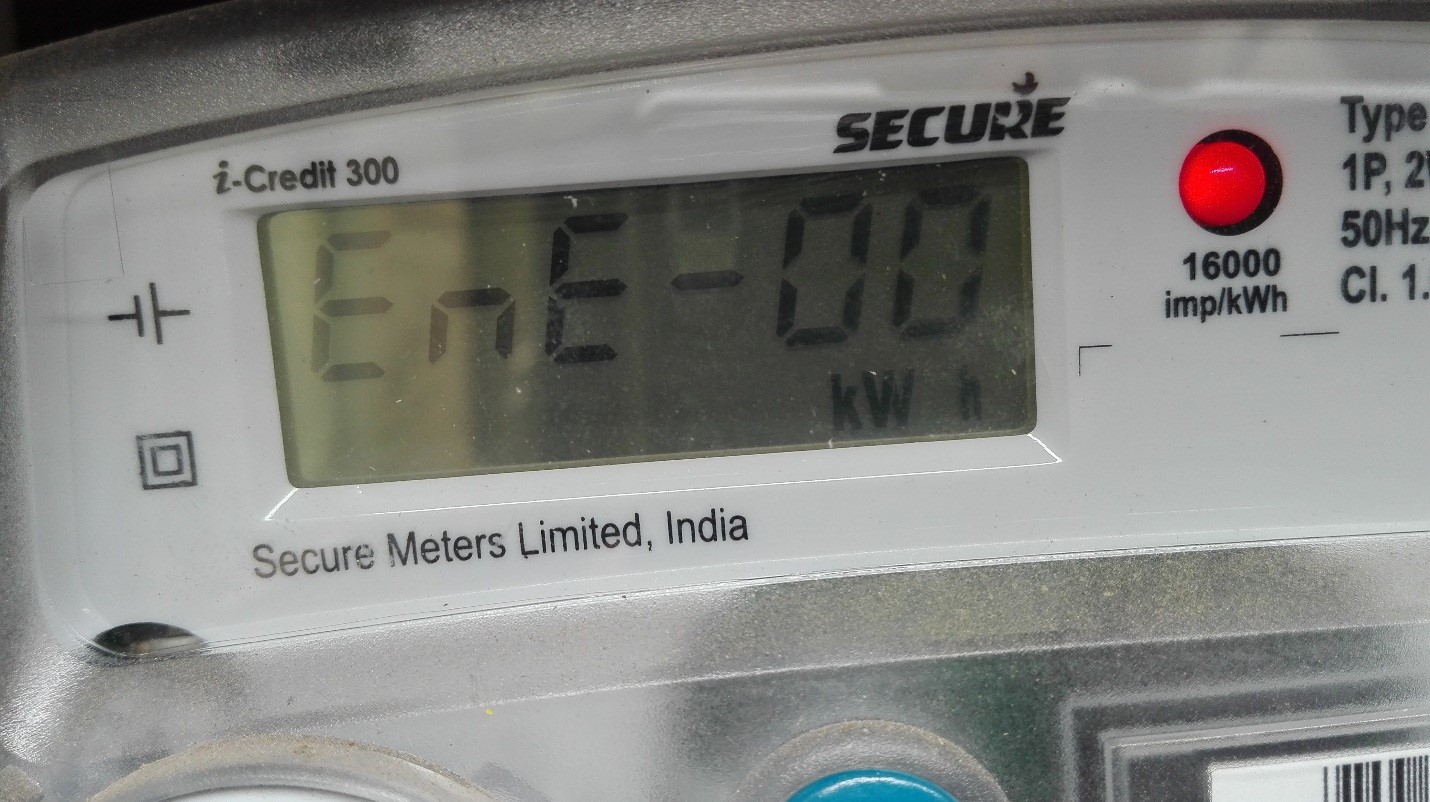
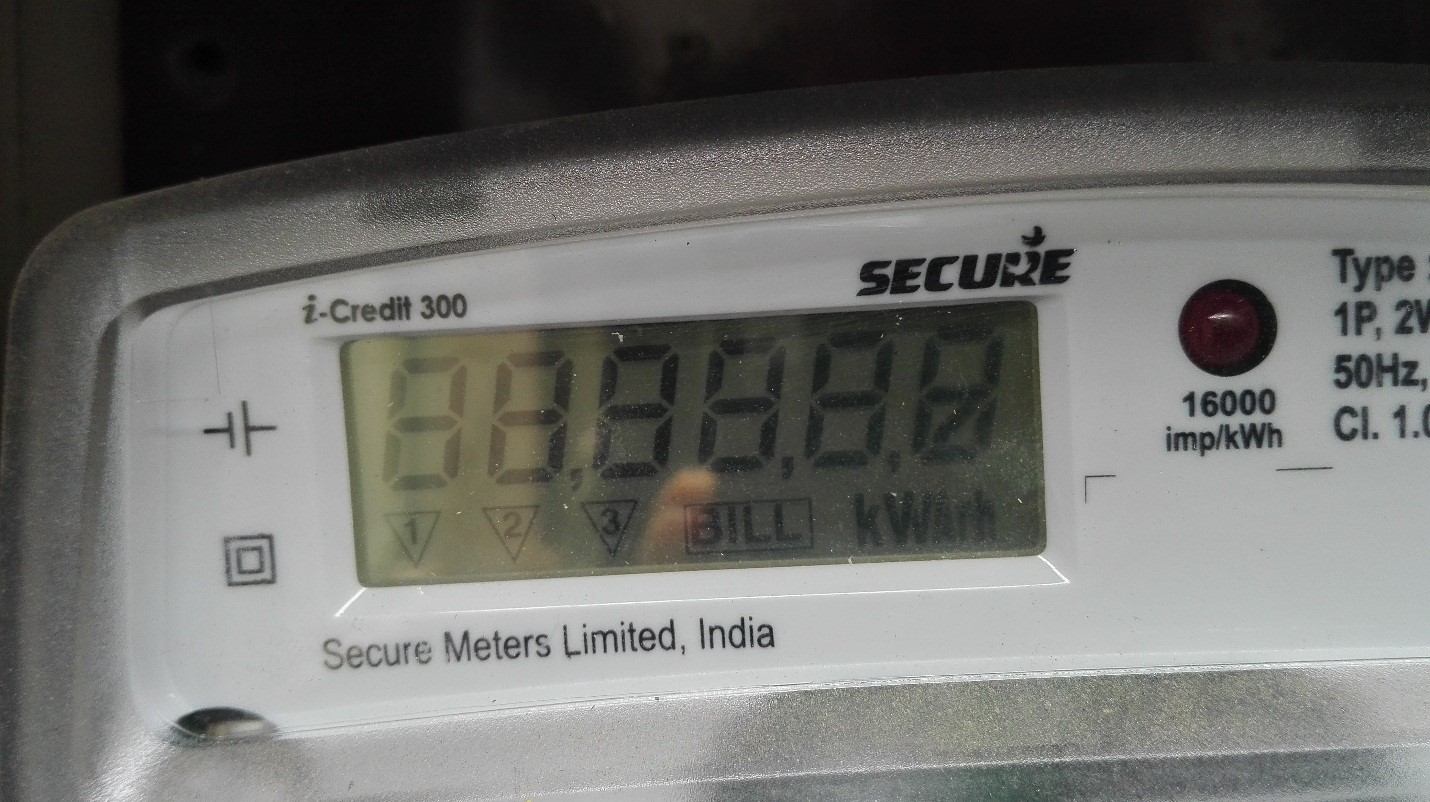
Display “EnE” means the net energy export is the next display.
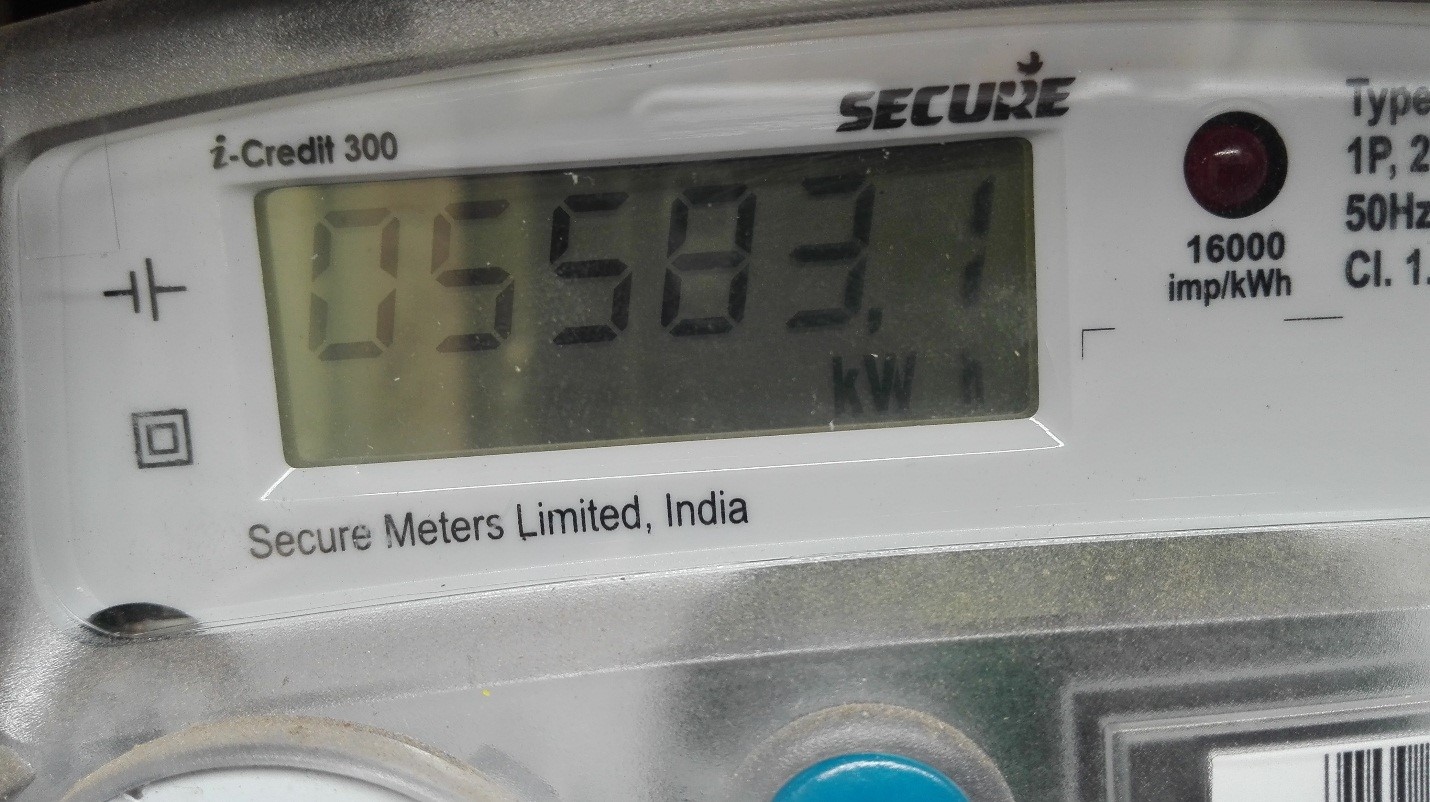
Total unit of energy exported by this client is 5583.1 unit.
So, we done with our reading. If you have your previous electricity bill you can calculate your export energy of the month and savings.
Total savings for this customer by exporting solar energy to the grid is = 5583.1 – 338.9 = 5244.2 unit.
Feed in Tariff at the time of Commissioning of the project is = 9.56
Savings so far from exporting energy = Rs. 50,134.50.
To calculate total savings, we need to consider total energy production and savings from self-consumption.


